How to Record Audio on Your Windows laptop?

Recording audio on your Windows laptop is a simple process that can be done with a few steps. Whether you need to record a lecture, podcast, or music, your laptop's built-in microphone or an external microphone can help you achieve great sound quality. The purpose of this blog is to walk you through the steps of recording audio on your windows laptops.
1. Choose your recording app
The first step is to choose an app that can record audio on your Windows laptop. Windows 10 comes with a built-in app called Voice Recorder. If you prefer a more advanced app, you can use Audacity, OBS Studio, or any other third-party app that supports audio recording.
2. Connect an external microphone

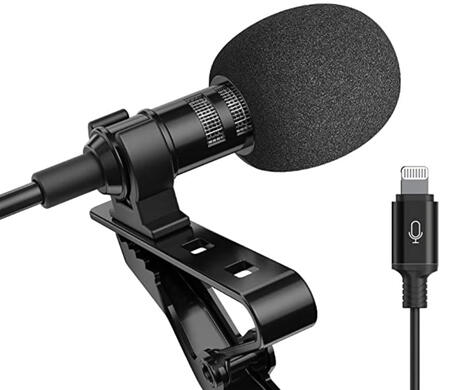
While the built-in microphone on your laptop is decent, you may want to use an external microphone for better sound quality. You can use any USB or Bluetooth microphone with your laptop. You should check your external microphone's quality with MicTest before connecting the microphone to your laptop and make sure it's selected as the input device in your recording app.
3. Open your recording app
Open your chosen recording app. If you're using Voice Recorder, you can find it by typing "Voice Recorder" in the search bar. If you're using Audacity or OBS Studio, you'll need to download and install the app first.
4. Choose the input device
In your recording app, select the input device you want to use. If you're using an external microphone, make sure it's selected as the input device.
5. Start recording
Once you've selected the input device, you're ready to start recording. Simply hit the record button in your app and start speaking or playing your instrument. If you're using Voice Recorder, you can also use the built-in timer to set a specific recording duration
6. your recording

After you've finished recording, save your audio file in your desired format. Most recording apps allow you to save your file as an MP3, WAV, or WMA file. Choose the format that best suits your needs and save your file to your desired location.
7. Edit and share your recording
If you need to edit your recording, you can use your recording app's built-in editing tools or import your file into another app like Audacity. Once you're happy with your recording, you can share it with others by uploading it to a cloud storage service or sharing it via email or social media.In conclusion, recording audio on your Windows laptop is a simple process that can be done with just a few steps. Whether you're recording a podcast, music, or lecture, your laptop's built-in microphone or an external microphone can help you achieve great sound quality. Just follow the steps outlined in this blog and you'll be recording audio like a pro in no time.